From step 1 to step 10, you can study at the Set Up A Java Development Kit In Microsoft Windows 8 With Picture
- Let us locate the directory where the JDK is installed on our system, and note down the path to this directory.
- Open the Start menu and click "All apps" down arrow button in the bottom-left corner.
- Scroll through the list of apps and click "Control Panel" on the "Windows System".
- The Control Panel will appear on the screen.
- Under "View by:" on the right side, click "Category",
- After then select the “System and Security” section.
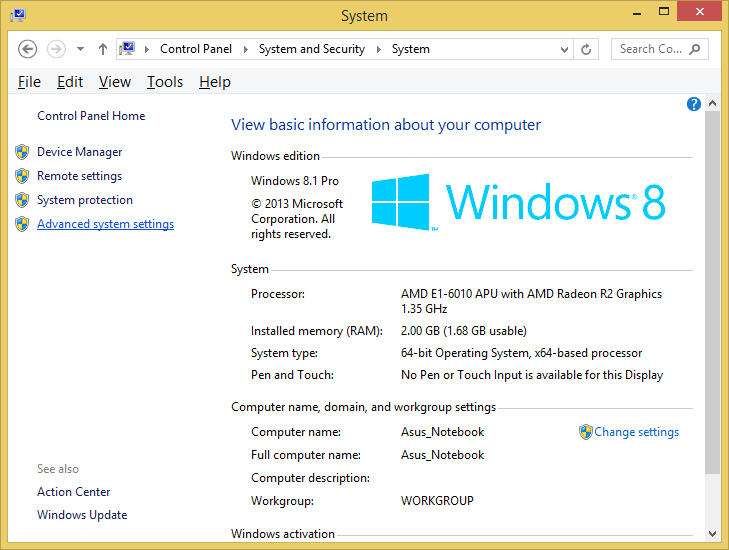
- then select the “System” section on the right side.
- In the System window, click on Advanced System Settings on the left sidebar.
- In the System Properties window (Advanced tab):
- Click the Environment Variables button.
Add JAVA_HOME Variable In Microsoft Windows 8
This following step to add JAVA_HOME variable:
- Under the System Variables section, click a New button to create a new one.

- In the Variable Name field, type JAVA_HOME.

- In the Variable Value field, enter the path to our JDK installation directory (e.g., in this post C:\runtime\Java\jdkX.X.X_XX\). Then press OK button.


Add %JAVA_HOME% To The Path Of Windows Environment Variable
This following step to add %JAVA_HOME% to the Windows Environment Variable:
- In the System Properties window, select the Path variable under the System Variables section. Click Edit button,

- and add %JAVA_HOME%\bin to the list of paths if it’s not already there. Click OK button.

- Click OK button to apply the changes and restart the computer to ensure the changes take effect.


Check %JAVA_HOME% Has Installed Successfully
- Start Command Prompt window then use the following command to check the %JAVA_HOME% has been added correctly.

- echo %JAVA_HOME%. You should see the path to your JDK (or JRE) installation location without bin folder.


after this you can follow and practise this optional step below according to your condition:
Edit JAVA_HOME
- Under the System Variables section, found JAVA_HOME variable, click Edit button to modify the existing variable.

- change the Variable Value field with enter the path to our JDK installation directory (e.g., in this post C:\runtime\Java\jdkX.X.X_XX\ ). Then press OK button.


NOTES:
- In the step 14 about Check %JAVA_HOME% Has Installed Successfuly from above, you can learn to open CommandPrompt, with click How To Launch Command Prompt or click How To Launch Command Prompt In Windows 8
- X is version based on your Java installed version.
<< back to Study About Java 1
Bibliography
https://www.asus.com/ ( hardware )
https://www.codecademy.com/
https://www.youtube.com/@ProgrammingKnowledge
https://docs.oracle.com/ ( manual ebook )